Weather
The Weather Widget provides current daily weather forecasts worldwide using the DarkSky API as a source of weather data.
The Weather Module is configured for Xibo in the Cloud customers and is provided as part of the service. Please skip the Installation steps detailed below and proceed with the set-up at the Add Weather Widget section.
Non-Xibo in the Cloud customers please follow the Installation steps as detailed below.
Installation
To get an API key please visit DarkSky to create an account.
(If you are going to exceed 1000 calls per day you will also need to enter your billing information).
The Weather Module is installed from the Modules page, under the Administration section of the Menu. Click on the Install Module button and select the Module to install.
After installation, select the Module from the grid and use the row menu to select Edit.
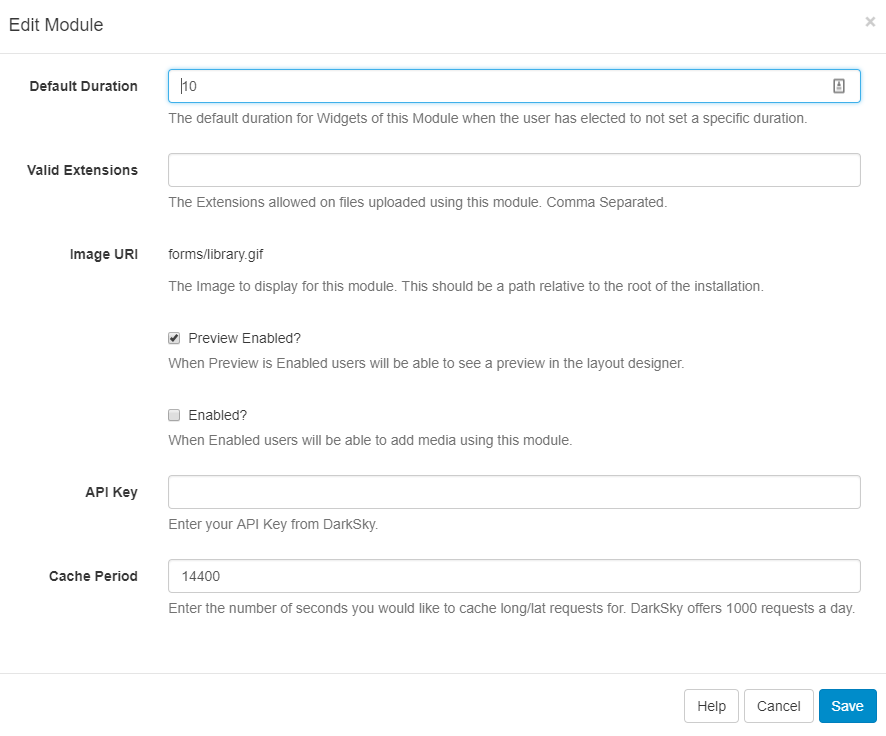
Complete the form fields and include the API key. The CMS allows a Cache period to be specified which will create a delay between requests for each geographic location.
DarkSky allows 1000 requests for a forecast, per day before charging a small fee for each subsequent request.
Add Weather Widget
The DarkSky Terms of Service https://darksky.net/tos should be read and understood before using this Widget.
Cloud customers with older CMS Instances may see the Weather Widget labelled as ‘Forecast IO’ in the Widget Toolbox.
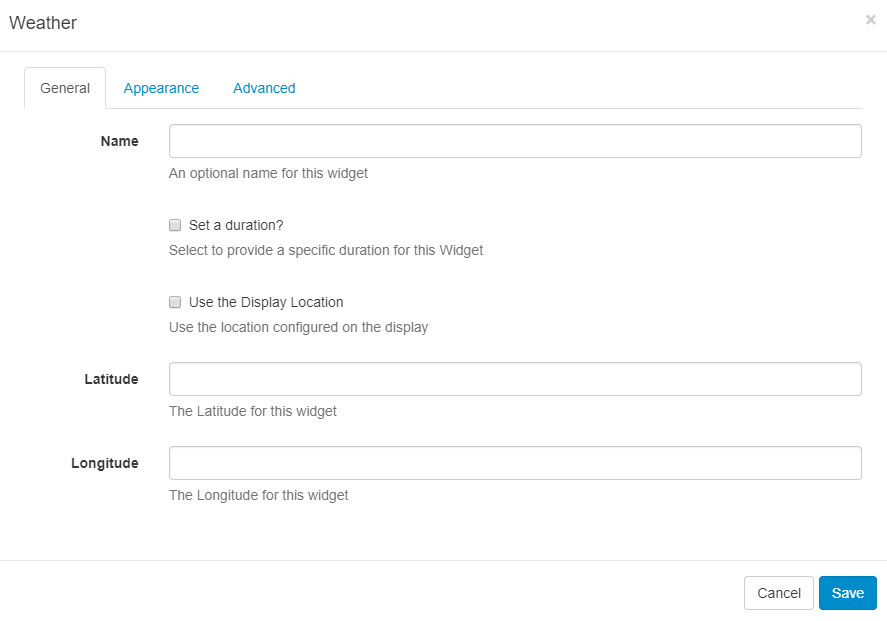
Name - select an optional name for this Widget.
Set a duration - tick to override the default.
Use the Display location - once ticked the lat/long recorded on the Display is used rather than specifying manually.
Appearance
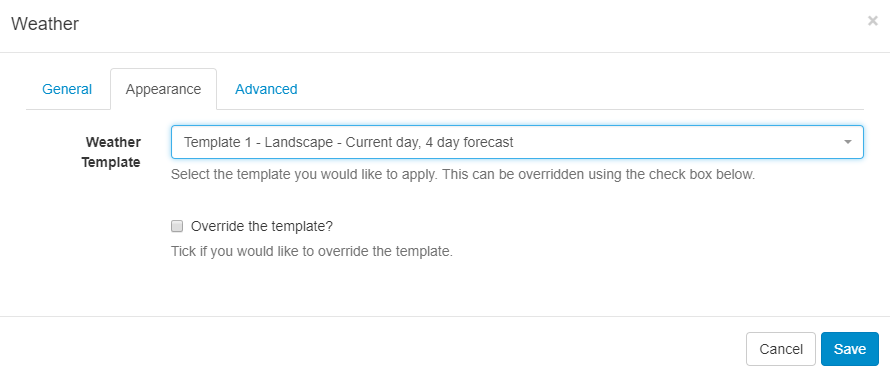
Template - Use the drop-down to select an appropriate Template
Override the template - Tick in the box to edit. Please see section on Editing default templates for further information.
Advanced

Units - Use the drop-down menu to select the unit of measurement to use.
Language - Select from the drop-down.
Update Interval - Enter a number in minutes.
Only show Daytime weather conditions - Toggle on/off.
Attribution
All Layouts that use the Weather Widget need to include the text “Powered by DarkSky” as per the DarkSky Terms of Service .
Editing default templates
Default templates can be edited and saved with 5 sections that will need to be completed. Selecting a template using the dropdown and clicking in the Override the template checkbox will automatically load the template structure and presentation. Templates can be edited and saved by providing the information needed for each of the 5 sections detailed below:
Original Width
This is the intended width of the template and is used to scale the Widget within its region when applied.
Original Height
This is the intended height of the template and is used to scale the Widget within its region when the template is applied.
The template will be automatically scaled and should be designed for the intended output resolution. The following guidelines should be considered when editing templates:
- Templates must be designed at a fixed size
- All elements must use absolute sizing in px, including fonts, margins, widths, heights, etc
- If positioning is used, it must be from top,left
- Templates can use bootstrap
- The aspect ratio will be fixed by Xibo and sized to fit the Region
- Templates are treated the same as a static image
Current forecast template
Also known as the main template as it is used for the current weather conditions and as the basis for the repeating Daily forecast template.
Daily forecast template
This is the repeating template that should be provided for the 7 day forecast. It will be repeated each day and then substituted into the special [dailyForecast] tag (which should feature on the main template).
The [dailyForecast] tag has 2 optional settings which can be added to the tag by including the| character. These are [dailyForecast|Number of days|Start day] and default to 7 days, starting at tomorrow (day 2). If you wanted to see the next 3 days you would use [dailyForecast|3]and for a 3 day forecast starting the day after tomorrow you could use[dailyForecast|3|3]`.
A common example is to ignore the "Current Template" and produce a full 7 day forecast using the daily forecast - this is achieved with
[dailyForecast|7|1].
CSS
This is the CSS to apply to the template structure above. It will be augmented with a colour
attribute and has a special [[ICONS]] which will be replaced with a selected icon sprite.
Request a Forecast
It is possible to request a forecast at any time to see what forecast data is returned. Any field is available as a substitute in the template by entering the field name between square
brackets - for example [nearestStormDistance].
This button is available once the Weather Widget has been added to the Region Timeline and is then edited. There is not enough information saved to make a request to get the forecast at the ‘Add’ stage.
Extending with new icons
New icons can be added by an administrator who has access to the file system. Any PNG file in modules/theme/forecastio/weather_icons will be made available for selection in the Icons selector.
Weather icons are provided as a sprite, each icon is 128x128 and should represent the same weather conditions as the shipped icon sprite.
For example, a "clear-day" is represented by the icon in position 1, a "windy day" is represented by the icon in position 11.
You may have a Layout Status
! There are items on this Layout that can only be assessed by the clientThis is a normal Layout Status if you have online content which will be assessed on the Player side.