
User Manual
- Modules
- Connectors
- Audio
- Calendar
- Clock
- Countdown
- Currencies
- Dashboard
- DataSet
- Embedded
- Emergency Alert
- Flash
- Google Traffic
- HLS
- HTML Package
- Image
- Local Video
- Mastodon
- Menu Board Category
- Menu Board Products
- National Weather Service
- Notifications
- PowerPoint
- Shell Command
- Stocks
- Ticker
- Video
- Video In
- Weather
- Webpage
- World Clock
On this page
User Management
Xibo has different User types, each allowing a varying level of access across the CMS for efficient collaboration.
Administrators are encouraged to assign Users to User Groups to determine what the Users should access within the CMS and share Folders with the User to control the interaction (View, Edit, Delete) of items contained within the Folder.
How-to Video
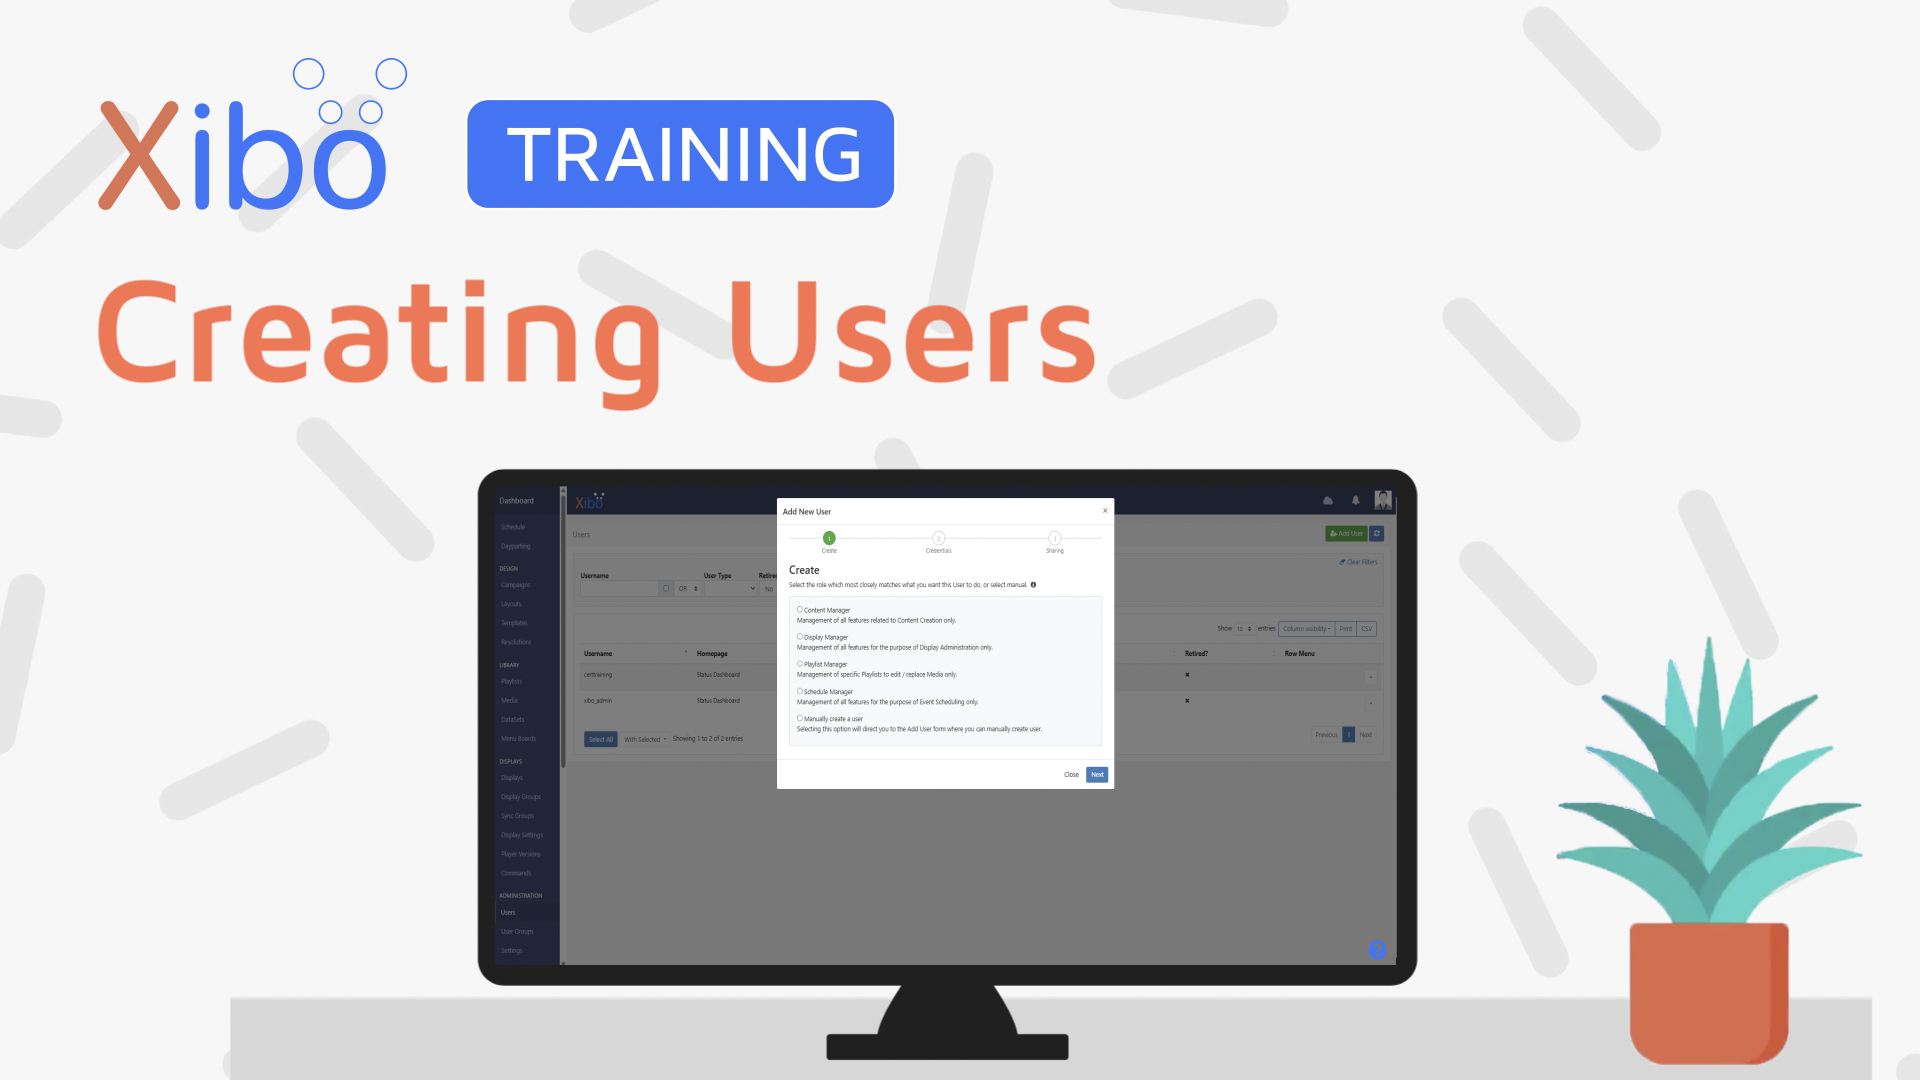

Creating Users
Users are created and managed by clicking Users under the Administration section of the main CMS menu.
- To add new Users, click on the Add User button.
There are two ways in which Users can be added; via an onboarding wizard using pre-configured User Groups which have enabled Features for common functions to match the role or adding manually by completing a form.
- Follow the wizard by selecting a role to add them to a User Group, create a User Name and Password and select any Folders which need to be shared.
- If you need to set a Home Folder for the User, right click a Folder and use the Set as Home menu option.
Selecting to Manually create a user, will open the Add User form to complete.
A User will only have access to the parts of the CMS assigned to the User Group they belong to as well as full editing rights to their own items and the ability to share those with other Users.
Some Users may need additional access rights in order to perform the correct tasks, such as a Group Admin, who in addition to having access to the parts of the CMS as assigned to the User Group they belong to, they will also get access to all items of all Users belonging to the User Group.
User Types can be selected when creating a new User manually or by editing an existing User from the row menu.
Users are also assigned a dashboard which serves as a Homepage:
- The Icon Dashboard is the default User view and is intended as a launcher into other areas of the CMS.
- The Status Dashboard is a high level view for Super Admin Users which shows information relating to Library and Bandwidth usage as well as Display Activity.
- The Media Manager Dashboard gives an overview of the status of Library Media in the CMS.
- The Playlist Dashboard is only assigned to the Playlist Dashboard User Group which gives a restricted view of the CMS with a User only able to select specific Playlists to manage.
To make changes to a Users default, use the row menu and select edit and use the drop down menu for Homepage.
Deleting Users
Deleting a User is irreversible and will remove all their owned items including; Media, Layouts and Schedules, even if these items are being used by other Users in the system. Reassign items to another User to make them the new owner of all the items currently owned by the User you wish to delete. Alternatively, use the Retired checkbox at the bottom of the Edit User form so that the items remain in use in the CMS.
xibo_admin is not modified or removed so that our helpdesk agents can assist you with your CMS as and when required.

Further Reading
FAQ’s
Is there a way to ensure Users change their password within the system?
Edit a User from the row menu and select the Options tab to find the setting “Force Password Change.” Users will be redirected to a page to reset their password, the next time they log in.
I have a user who has lost access to their Google Authenticator app and has no access to email or any saved recovery codes?
Edit the User from the row menu and use the checkbox to Reset Two Factor Authentication. The User can now set up two factor authentication from their User Profile.
How can I add a User to a User Group?
Use the row menu and select User Groups to manage group membership.
