
Showing Images/Videos on Screens
- Modules
- Connectors
- Audio
- Calendar
- Clock
- Countdown
- Currencies
- Dashboard
- DataSet
- Embedded
- Emergency Alert
- Flash
- Google Traffic
- HLS
- HTML Package
- Image
- Local Video
- Mastodon
- Menu Board Category
- Menu Board Products
- National Weather Service
- Notifications
- PowerPoint
- Shell Command
- Stocks
- Ticker
- Video
- Video In
- Weather
- Webpage
- World Clock
Showing Images/Videos on Screens
Introduction
Using the Media Library you can easily upload and schedule Image and Video files to be shown on screens.
You may have Image/Video content created outside of Xibo, e.g. created by an agency, marketing team etc, which is ready to be shown. Follow the guidance below to see how to Upload, Configure and Schedule your Image/Video file to your Displays in just a few simple steps.
This short video will take you through the process:

Upload
-
Click on Media under the Library section of the main CMS menu.
-
Click the Add Media button.
-
Select Add files and select the Image/Video file to upload.
-
If you don’t want to use the original file name, add a Name here.
-
Click Start upload.
-
Once uploaded click Done.
Configure
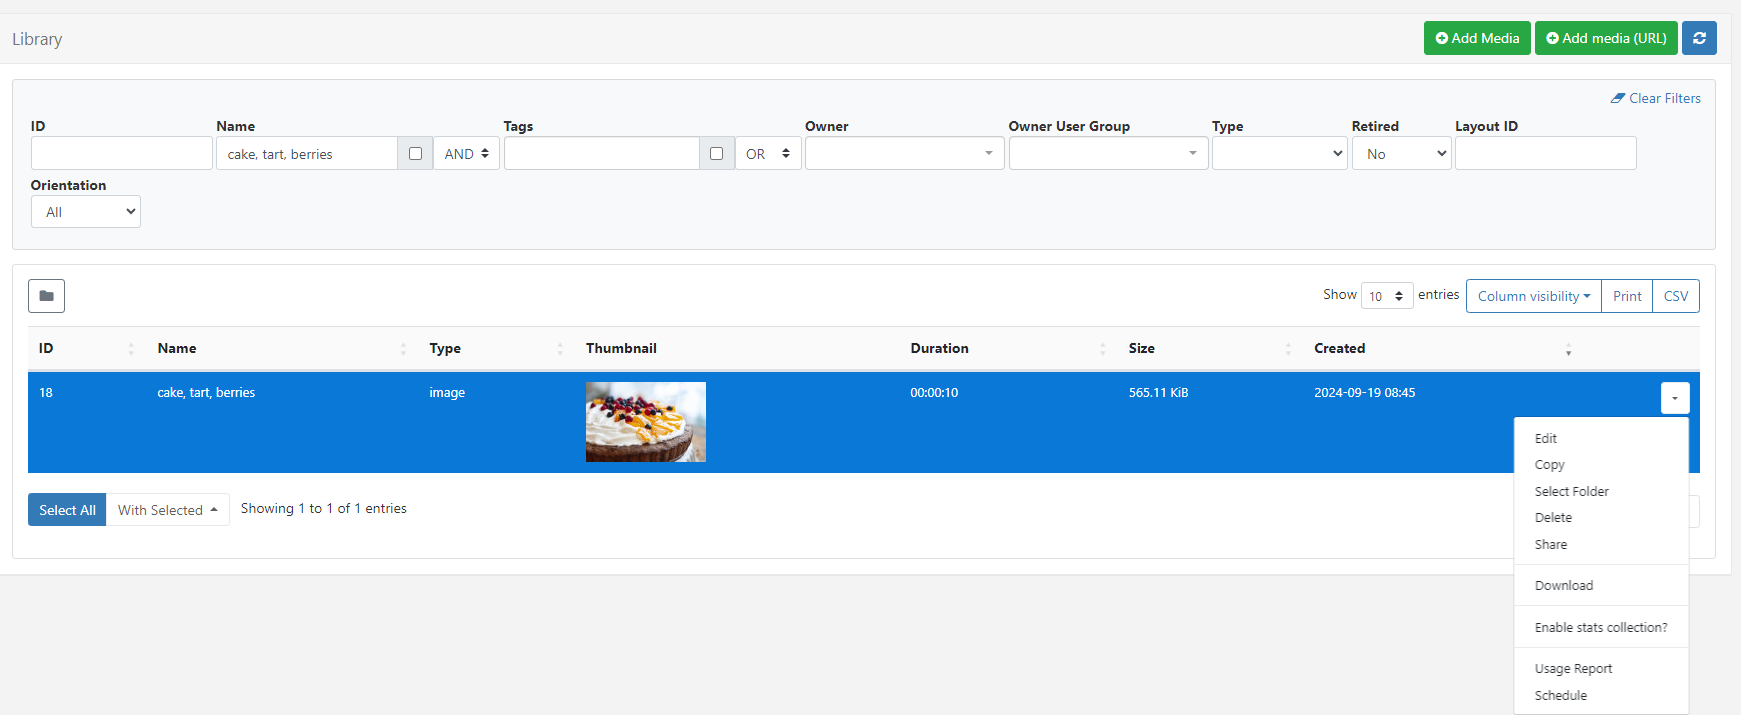
- From the Media grid use the filters to make it easier to find the uploaded file if required.
- Use the row menu and select Schedule:
The Select Media form will open to provide further optional configuration if required:
Duration in loop determines how long this media should be shown each time it appears in a Schedule Loop.
- Specify a duration to override the media file duration.
- Select a a specific Resolution to use.
- Set a colour to fill any gaps in the background if the media file will not fill the screen.
- Save to close the Select Media form and continue with scheduling.
Schedule
Complete the fields in the Schedule Event form:
-
Give the event a Name which can be easily identified when looking at complete Schedule lists.
-
Select which Displays this Media will be shown on.
-
Select Custom to set specific start and end dates/times or choose Always to show the media on Displays at all times.
-
Click Save.
The CMS will now update a Schedule change to the Player and your media content will be shown on screens for the timings set in the schedule.
Further Reading
Using the Layout Editor to create your own content
FAQ’s
What are Schedule Loops?
A Schedule Loop is how media content will play when in schedules with other media content. For example, if you have scheduled 2 media items each with a 10 second duration to be shown at the same time for 1 hour, both items will play for their 10 second durations in fair rotation for the scheduled time.
How do I remove an Always Event from the Schedule?
From the Schedule, use the row menu for the Event in the Grid view and select Delete, or click on the Event icon from the Calendar to open the Edit Event form and Delete.
