
Android CEC Screen power On/Off with DSDevices
- Xibo for Android
- DSDevices DSCS9X/95 Set-up Guide
- Install a White Label or a different Player version on DSDevices
- CEC Screen Power on/off with DSDevices
- Hardware Recommendations
- Philips Signage SoC Monitors
- Sony Bravia SoC
- Hisense Commercial Displays SoC
- Managing Storage on the Android Device
- Player Settings
- Players without an Internet Connection
- Remote Administration with SS Helper
- Restart Rooted Device with a Shell Command
- Running Xibo for Android
- Resolving Common Issues
- Error shown when I try to licence my Player?
- Player not updating from the CMS?
- I can see my Licence entry but the Player appears unlicensed?
- Error message - Player is missing dependencies
- My scheduled Layouts are not working?
- Layout won't play? Splash screen plays?
- Watchdog error message
- Troubleshooting for Administrators
- Audit Trail
- Log Information
- Player Logs
- Getting the Player Status
- Request Player Status via CMS - Logged in Players only
- Request Player Status directly from a Device
- Can I use the Xibo name / logo?
- Can I run a Xibo Player on Raspberry Pi?
- How can I increase the upload file size limit?
- How do Players communicate with the CMS?
- How many displays can Xibo support?
- How do I reset the Xibo_admin account password?
- Power On/Off for Players
- Why do I need a Default Layout?
- Xibo for Android FAQ's
- Gapless Playback
- Autoplaying Embedded Youtube Videos
- Closing to Home screen
- Displaying Images
- Embedded TV
- External SD card not listed when running Banana-Pi
- Helper Command to change Time zone
- HTML5 Video
- Memory Notifications
- Menu not accessible
- SSL Support
- Using Portrait Displays
- Video wont play properly
On this page
Android CEC Screen power On/Off with DSDevices
- If you are using a CMS later than v3.0.0 please use this link

This guide will take you through how to use the DSDevices DSCS9X, DSCS95 and DSCS9 to control the attached TV/screen via HDMI-CEC.
Modern TVs and signage panels offer the HDMI-CEC standard to accept power on/off Events via the HDMI cable.
DSDevices DSCS9X, DSCS95 and DSCS9 offer a method to send those CEC control signals so that you can turn the screen on and off via Commands Scheduled in Xibo or built into Layouts.
Player Setup
If you are using a DSCS9X or DSCS95 please go straight to the Xibo Setup section below.
NOTE: DSCS9 devices shipped from 1st January 2019 onwards have the DSDCEC app pre-installed and the CEC options correctly configured for you automatically, so you can skip straight to the Xibo Setup section below.
Download the DSDCEC app from here and install on your DSCS9.
Once installed, if you open the DSDCEC app, it should look like this:
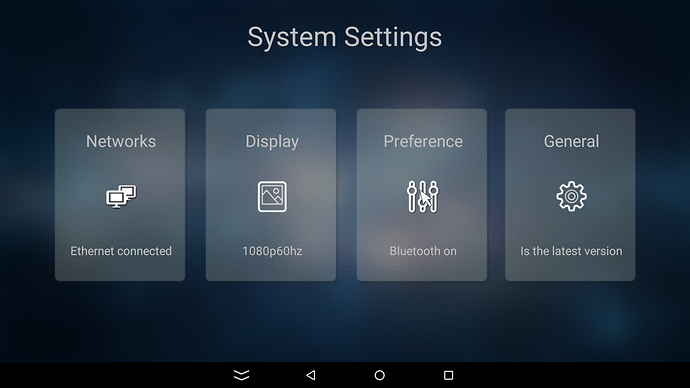
Next, go into the Settings app from the device home screen:
Select Preference:
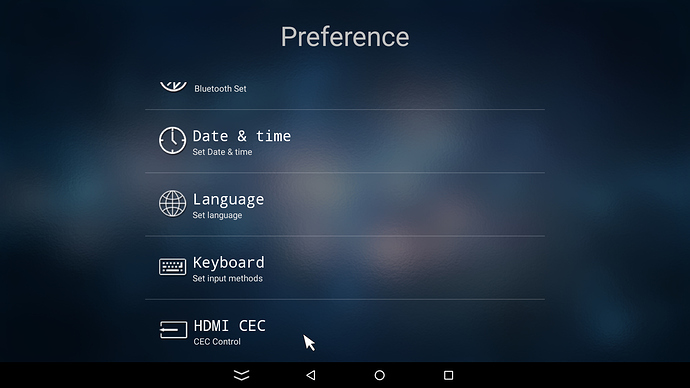
Select HDMI CEC:

Ensure that the following options are selected:
- CEC Control - Open
- One key play - Close
- One key power off - Close
- Auto change language - Close
Exit the settings using the back arrow at the bottom of the screen.
Next, ensure that your TV or panel has HDMI-CEC control enabled. How you achieve this varies from manufacturer to manufacturer. Please see the user guide for your particular TV for guidance.
Once CEC is enabled, ensure that your DSCS9 is connected to the TV via HDMI cable. CEC control signals cannot pass through HDMI to VGA adapters for example.
Click the POWEROFF button, or press f on the keyboard in the DSDCEC app. Your TV should turn off. Assuming it does so, turn the screen back on manually, or if you have a keyboard connected use the n button to trigger a power-on event.
Assuming that the screen powers off and on as expected, the Player setup is complete.
Xibo Setup
From the CMS, create and define Commands to turn the screen power On and Off.
- Select Commands located under the Displays section of the main menu.
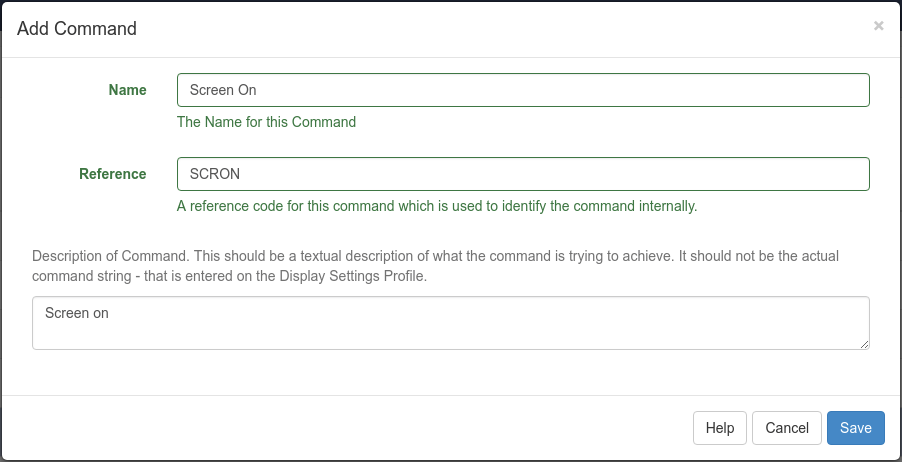
Create 2 commands to use: Screen On: dsd_cec_on and Screen Off: dsd_cec_off
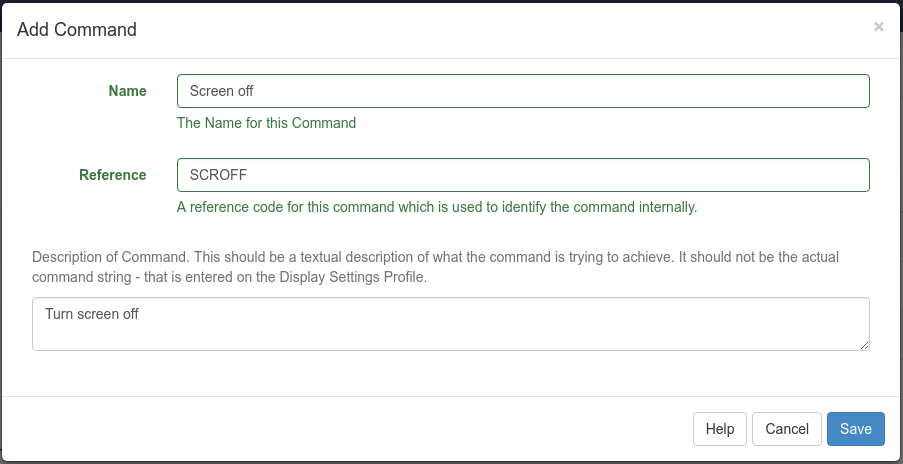
- Click Add Command:
- Repeat to add a
Screen OffCommand:
NOTE: If you are using v2 R216 and earlier or v3 R301 and earlier, the following commands should be used instead:
Screen On: /system/bin/am start -n com.microcontrollerbg.dsdcec/.dsdcec --es "ceccommand" "on"
Screen Off: /system/bin/am start -n com.microcontrollerbg.dsdcec/.dsdcec --es "ceccommand" "off"
The two new Commands should now appear in the Commands list. If you already have screen on/off commands defined (for example if you use webOS Players), then there’s no need to define specific ones for Android. You can use the same Commands across both types of Player.

Create a new profile from Display Settings in the CMS main menu:
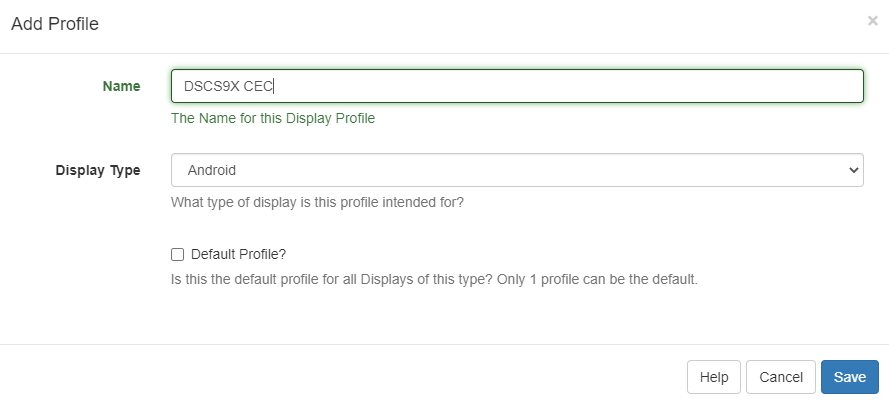
- Click Add Profile.
- Ensure Display Type is set to Android and give the Profile a meaningful name:
- Enter the Email Address to be used to licence this Player along with any other settings you would routinely change for your environment.
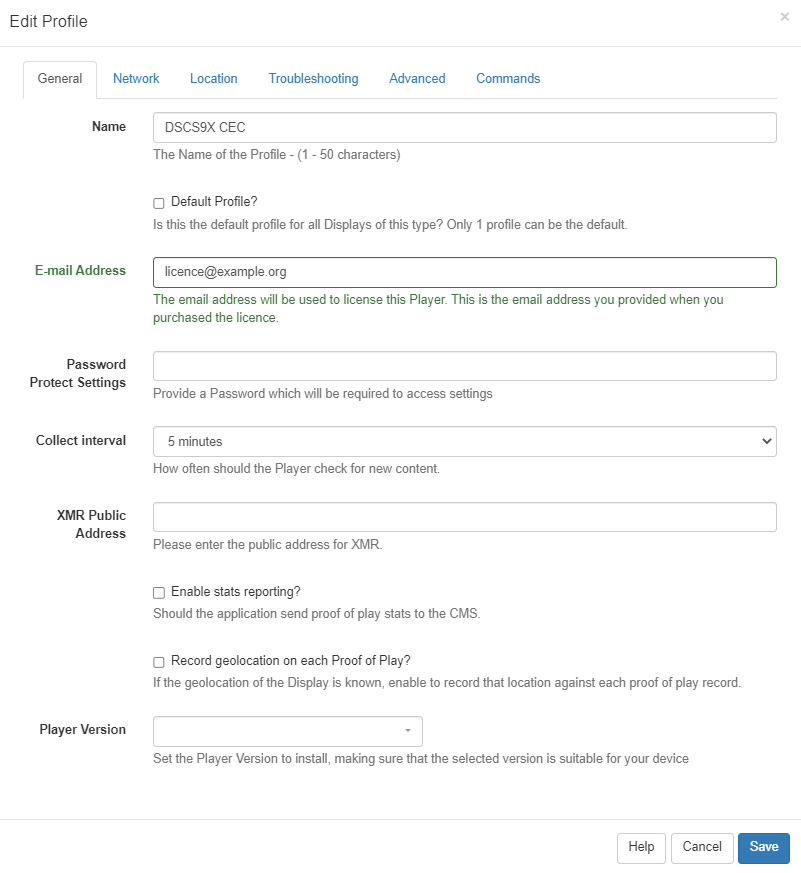
-
Finally, move to the Commands tab, and define the two Commands you created earlier for these devices.
-
Save your Display Settings Profile.
You now need to assign the Display Settings Profile to your Players. If you’re using only one Display Settings Profile, and have put those Commands into the Default Profile, then you can skip this step.
- Go to the Displays page of the CMS.
- Use the row menu for Displays served by the Player type created and click Edit.
- Use the Profile Settings tab and choose the new Profile created from the Settings Profile? drop down menu.
- Save your changes.
You can now try sending an instant screen on/off command from the Displays page:
- Use the row menu for a selected Display and select Send Command:
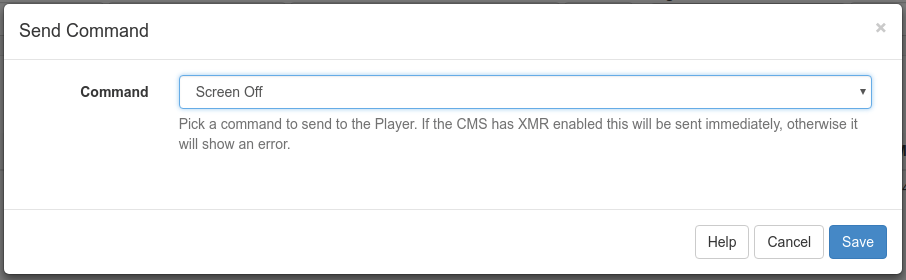
- Pick Screen On or Off and Save.
The screen should receive an XMR message and turn off.
The same Commands can also be Scheduled as an Event Type (these don’t require XMR to work):
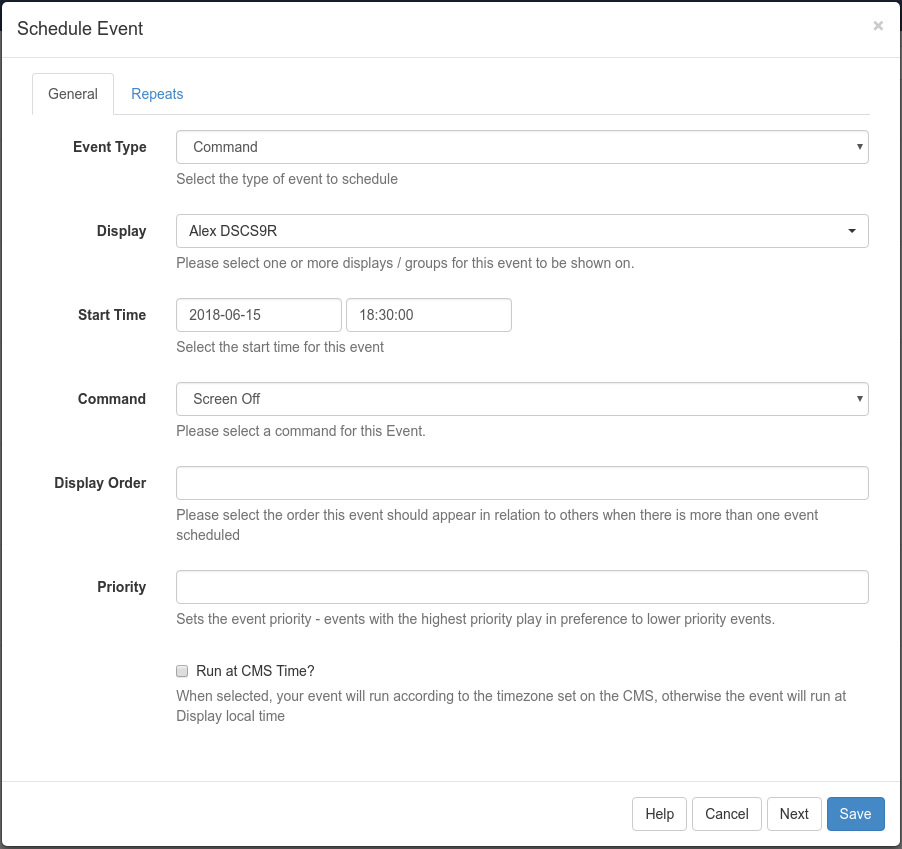
As in the example image above, the selected Start Time would cause the screen to turn off at 18:30 on the selected Display. You could then use a Repeat to cause that to happen every day for example.
It is also possible to embed the Commands required into a Layout.
Simply add the Shell Command Widget and choose the Commands you defined earlier.
When that particular Layout is shown, the screen power state will change accordingly.
